Home / Painting Contractors and the Woodwork of a Craftsman Bungalow
Painting Contractors and the Woodwork of a Craftsman Bungalow
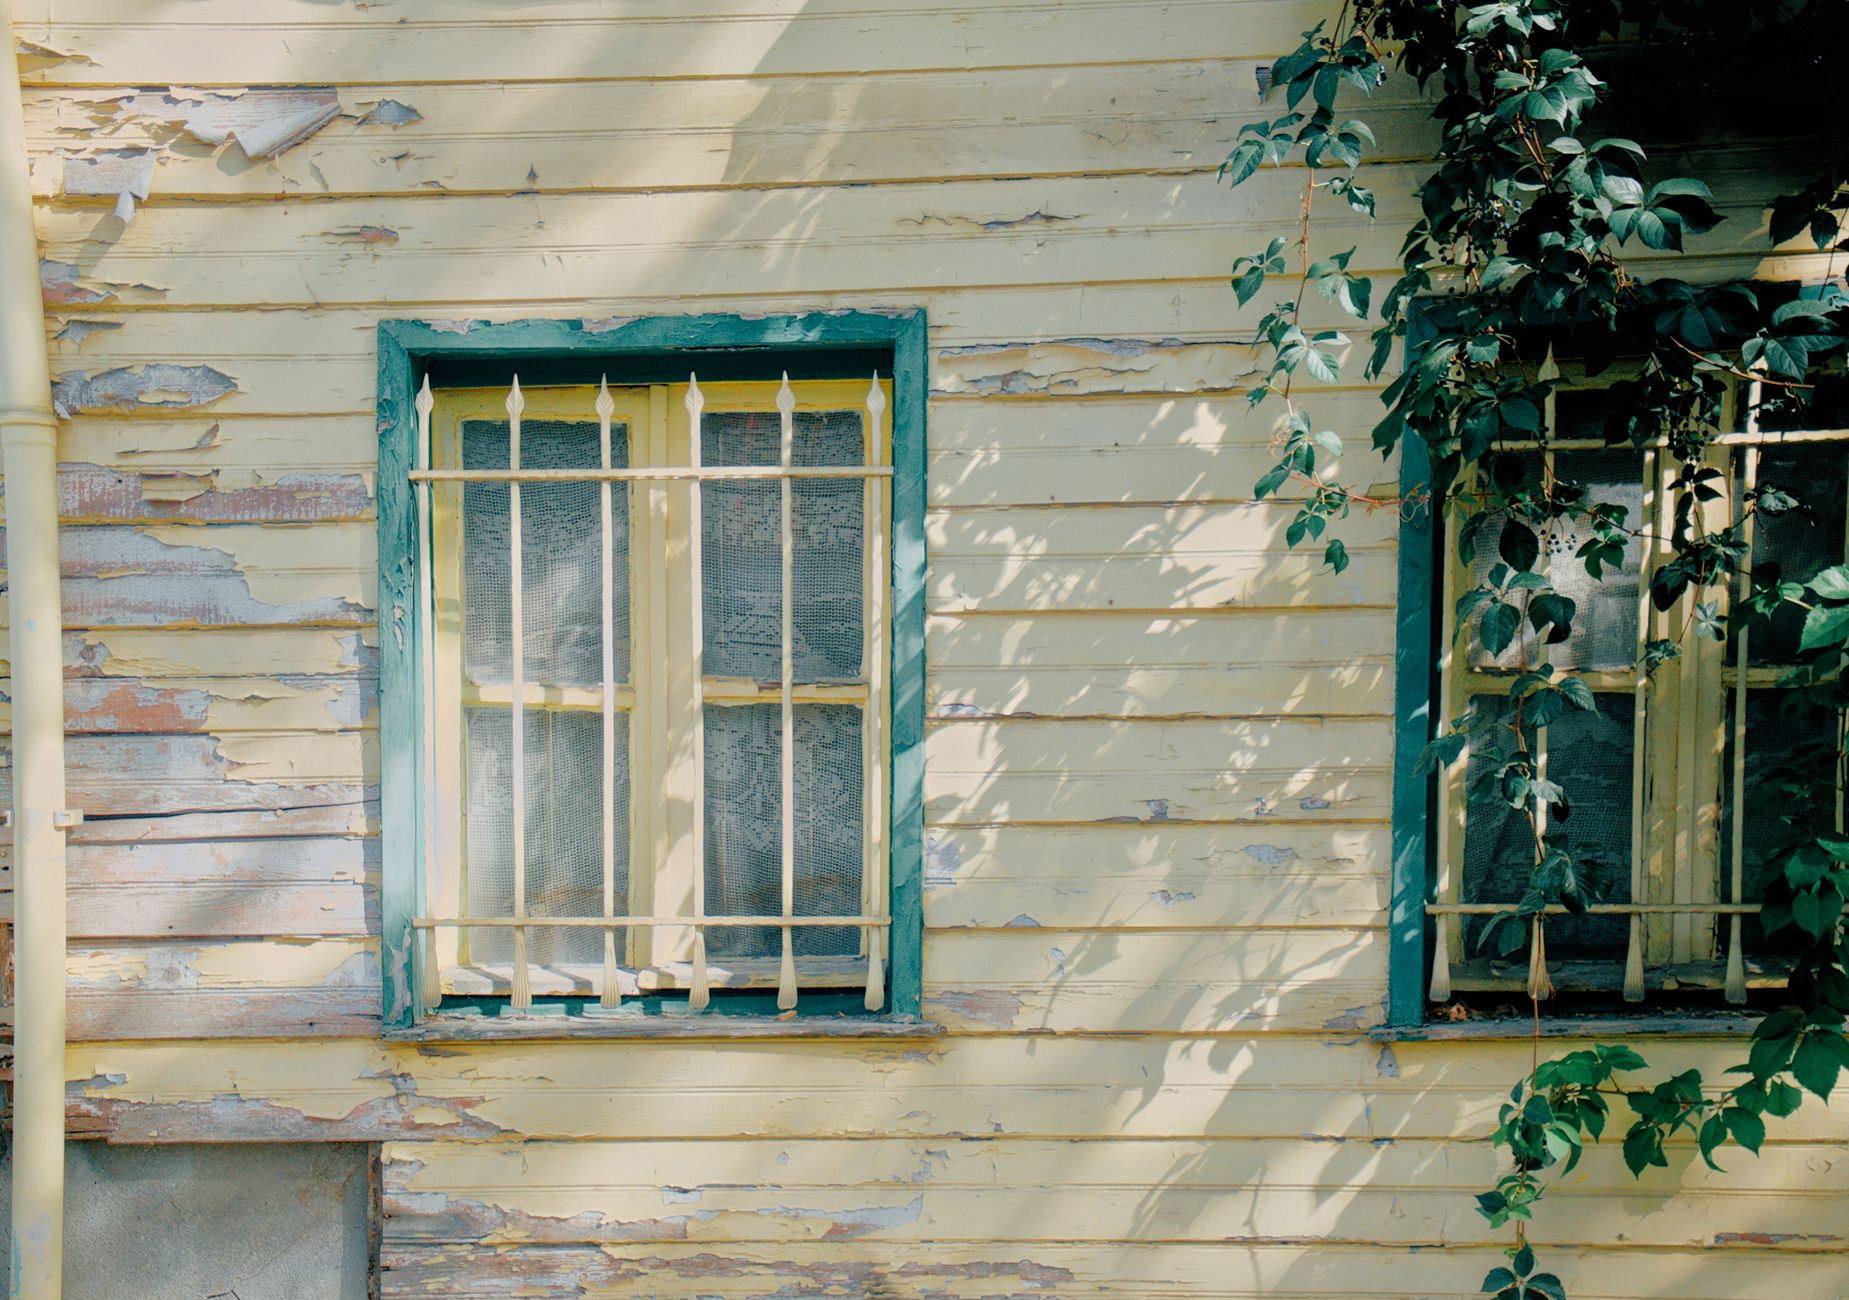
A Craftsman bungalow is a wooden building wearing a thin skin of paint, and that skin is doing structural work. A masonry wall can carry a tired coating for years and lose nothing but its looks. On a bungalow, the coating is the weatherproofing, and once it fails the material underneath starts being consumed rather than merely faded. On a shingled or clapboard bungalow a repaint is a carpentry job with painting at the end of it, and pricing it as anything else guarantees an argument in week two.
The architecture compounds the problem in a way the style's admirers rarely think about. The features that make a Craftsman worth owning are the ones that expose wood to weather on purpose. Rafter tails stick out past the wall to carry a deep eave. Beams and knee braces are left proud instead of being boxed in. Porch columns sit on piers close to the ground, trim is wide and flat with sharp top edges that hold water, and the whole shingle field is made of hundreds of small pieces of end grain pointing at the sky. Every one of those is a deliberate design decision and every one of them is a maintenance liability.
It is worth reading a contractor's own description of their services with that in mind. A site such as https://www.pasadenaelitepainting.com is more usefully read for whether wood repair, primer selection and substrate condition are discussed at all than for the colour galleries, because on this kind of house those are the parts of the job that decide the outcome. A bid that talks only about coats and colours has quietly assumed the wood is sound, and on a house of this age that assumption is almost never free.
Where rot starts, in order
Decay does not appear randomly. It appears where water sits, where it reaches end grain, and where the wood is close to the ground.
Rafter tails and beam ends
The end of a rafter tail is a cut face of end grain, often plumb cut or shaped into a decorative profile, sitting in shade under the eave where it dries slowly. It is also the hardest place on the house to reach, and therefore the place most likely to have received one thin coat from the last crew.
Press a screwdriver into the lower corner of a tail. Sound wood resists. Wood that takes the tip with light pressure is already gone, even if the paint film over it looks intact, because a coating spans a soft substrate happily. The same test applies to the exposed ends of purlins, beams and the lower ends of knee braces, where the angled cut sheds water onto the face below.
Sills, the water table and the base of columns
The other reliable failure zone is the bottom of everything. Water runs down a wall, meets the first horizontal surface, and stops. So the bottom rail of a window sash, the sill under it, the water table board at the foundation, the base of a porch column and the foot of any post all take more wetting than anything above them.
Column bases are the ones that surprise people. A tapered Craftsman column often sits on a plinth block that traps splash, and the cavity inside a hollow built up column can hold moisture with no route out. Tap around the base and listen for the change in tone that says the outer boards are separating from whatever is left inside.
Shingle butts, clapboard ends and cut edges
On a shingled wall, the exposed butt of each shingle is end grain, and any shingle sitting proud or cupped will hold water along its lower edge. On clapboard, it is the butt joints where two boards meet in a run and the cut ends at corners and casings, especially where an earlier repair left the fresh cut unsealed.
This is also the one place where more sealant is actively harmful. The gaps under shingle butts and the bottom edges of lapped siding are drainage, not defects, and a bead run along every course because it looks tidy turns the wall into a container.
Consolidant, epoxy filler and the dutchman
Once the soft spots are mapped, there are three real repairs and each has a range where it is correct.
Consolidant is a thin, low viscosity resin that soaks into wood that has gone punky but is still physically in place and still holding its shape. It wicks into the softened fibres and cures, restoring enough hardness for the wood to hold fasteners and to be filled and coated. It is the right treatment for the outer layer of a rafter tail or a column base that has gone spongy across a small depth. It is not a treatment for wood that has lost its shape, and it is no substitute for finding out why the wood was wet.
Two part epoxy filler rebuilds missing volume. It is the tool for a decayed corner, an eroded moulding profile, a gap at the end of a sill. Properly done it is preceded by consolidant, cut back to a clean edge, keyed so the filler has something to grip, and shaped proud before being carved to the original profile. It stays hard and does not shrink, which is why ordinary painters filler is the wrong choice outdoors: the soft stuff cracks with the seasons and water gets back in behind it.
A dutchman is a carpentry repair rather than a chemical one. A section of the decayed wood is cut out square and a new piece of matching timber is let in, glued and fastened, then planed and shaped to match. This is the right answer when the damage is larger than a palm, when the piece is structural, or when the affected area is a long straight run such as the lower part of a sill. A dutchman done well is nearly invisible under paint and lasts as long as the original, and it costs less than replacing an entire architectural member.
The rough rule careful carpenters follow is that small and shallow is consolidant plus filler, medium and localised is a dutchman, and anything structural, widespread or actively wet is replacement.
When replacement is the right call
Replace when the member no longer does its job, when decay runs through the full section, when the source of water has not been fixed and the fungus is still spreading, or when too little sound wood remains to hold a repair.
Two things matter enormously about replacement wood and both get skipped. First, it should be primed on all six faces before it goes up, including both cut ends, because those ends will never be reachable again and they are the fastest route for water back into the piece. Second, the profile should be matched. Bungalow trim tends to be wider and thicker than anything sold as stock today, and swapping a wide flat casing for a modern skinny one changes the proportion of the whole elevation. A small mill run or a hand shaped piece is worth the extra time on a front elevation.
And the water source has to be dealt with, because a new rafter tail under a leaking gutter is a scheduled appointment to do the same repair again.
Oil or acrylic primer on old wood
This is where a lot of bad advice circulates, and the honest answer is that the two primers solve different problems.
Old, weathered, chalky bare wood with a long history of oil coatings is the classic case for an oil or alkyd penetrating primer. It wets out dusty fibres, soaks into the surface rather than sitting on it, and binds loose material together. It also blocks the tannins and extractives that redwood and cedar push out, which is the cause of the brown staining that bleeds through a pale finish months after the job. Much of the wood on a house of this era is redwood or cedar, so bleed is a live risk rather than a theoretical one.
Modern high quality acrylic primers have real advantages of their own. They stay flexible, which matters on wood that moves with the seasons, they breathe rather than trapping vapour behind a hard film, and they do not go brittle with age. On sound, previously painted wood that only needs spot priming, a good acrylic is frequently the better long term choice.
The workable approach on most bungalows is a hybrid decided surface by surface. Oil based penetrating primer on the bare, weathered and stain prone areas, especially rafter tails, exposed beam ends and any newly exposed redwood. Acrylic primer elsewhere and over the top as needed. Acrylic finish coats over all of it, because the flexibility and colour retention belong in the layer facing the sun. The rule that must not be broken is the order: acrylic over oil is fine once the oil has properly cured, oil over fresh acrylic is not.
Stained woodwork or painted
Craftsman houses were built with a lot of stained and varnished exterior woodwork, particularly on porch ceilings, beams, doors and sometimes the shingle field itself. Restoring that look is possible and it is not the same project as painting.
Clear and semi transparent finishes let ultraviolet light reach the wood, so they degrade from the top down and need renewal on a much shorter cycle than paint. On a shaded porch ceiling or a recessed entry, a stained finish is entirely practical and looks right. On a sun hammered south or west elevation, it is a commitment to frequent maintenance that most owners have not agreed to.
Going the other way is close to permanent. Paint can be put over a stained surface after proper cleaning and dulling, but getting it back off wood without damaging the surface is slow, and stripping a shingle field is not realistic. Decide that one deliberately rather than discovering it during colour selection.
A middle path worth knowing about is a solid colour stain on a shingle field. It carries pigment for ultraviolet protection like paint, but it soaks in rather than forming a thick film, so it weathers by fading rather than peeling. On hundreds of individual shingles that behaviour is much easier to live with, because the next maintenance cycle is a wash and a recoat instead of scraping every butt edge.
The order that saves money
Inspect and probe first, before any colour conversation. Fix the water sources second: gutters, downspout discharge, grade against the base of the wall, flashing at the porch roof. Do the wood repairs third, starting with the rafter tails and sills rather than the easy reachable middle of the wall. Prime by substrate condition fourth. Paint last.
That order sounds obvious written down, and it is reversed on a lot of jobs because the paint is the part the owner can see and the carpentry is the part nobody photographs. A bungalow rewards doing it the other way round, and the evidence is on the street: the houses that still have their original rafter tails are the ones where somebody attended to the ends of the wood first.