Home / Repairing Wood Rot and Dry Rot Before Repainting in Pasadena
Why Wood Rot Has to Be Fixed Before Any New Paint Goes On
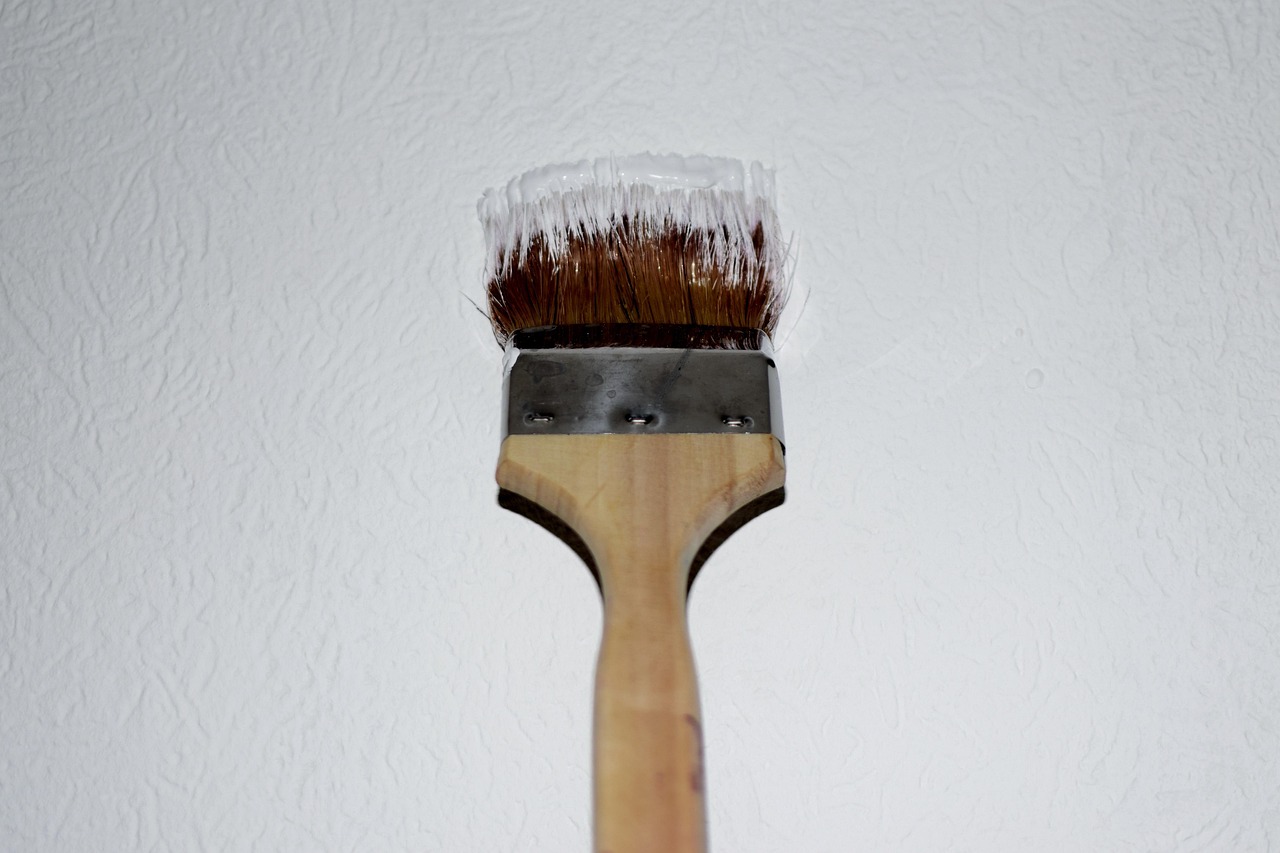
Paint is a thin skin. It can protect sound wood for years, but it cannot hold together wood that has already started to decay underneath. Painting over rot is one of the most common and most expensive mistakes in exterior maintenance: the fresh coat looks good for a season, then cracks and lifts as the soft wood beneath keeps breaking down, and by the time the problem is visible again the decay has spread further. On Pasadena houses, especially older Craftsman homes with exposed rafter tails, deep porches and wood windows, rot repair is often the most important part of getting a house ready for paint.
What rot actually is
Wood rot is decay caused by fungi that feed on the cellulose and lignin in wood. Those fungi need moisture to grow. Wood that stays dry does not rot, no matter how old it is. Once wood is repeatedly wetted and stays damp long enough, spores that are always present in the environment can establish themselves and start breaking the wood down.
Rot repair is the step most likely to be skipped, and the maintenance overview on pasadena house painting journal explains why it quietly shortens the life of every coat that follows.
Dry rot is not dry
The term dry rot causes confusion. In everyday use in the United States, it refers to decayed wood that has become dry, brittle and crumbly, often breaking into small cube-shaped pieces. The name suggests it happens without water, but it does not. The fungi that cause it needed moisture to do their damage, even if the wood feels dry by the time you find it. In a climate like Pasadena's, with a dry summer and a wet winter, wood can decay during the damp months and then dry out and look crumbly by late summer. The underlying cause is the same: water got in and stayed.
Wet rot
Wood that is actively decaying while still damp tends to feel soft and spongy, sometimes stringy, and may be darker in color. This is common at the bottom of door casings, in the ends of porch posts, and in window sills where water collects.
Rot versus termite damage
Southern California has drywood termites and subterranean termites, and their damage can look similar to rot at a glance. The difference matters because the fix is different. Signs that point toward termites include small, hard pellets that look like coarse sand or ground pepper piled below the wood, tiny round kick-out holes on the surface, mud tubes running up foundation walls, and galleries inside the wood that are clean and smooth rather than crumbly. Rot tends to show as softening, discoloration, cracking across the grain and a crumbly or spongy texture. If you see any sign of termites, have the house inspected by a licensed pest control operator before any repair or painting work. Filling and painting over active termite damage hides it without stopping it.
Why painting over rot fails
New paint over rotted wood fails for several reasons at once. The weak surface fibers cannot hold the paint film, so it lifts. The decay continues under the paint, because the moisture that started it is usually still getting in. Paint on top of damp wood can also trap moisture, slowing the drying that would otherwise limit fungal growth. And a painted-over soft spot is harder to find later, so the damage spreads out of sight until a board fails outright.
The right order of work
Rot repair before painting follows a logical sequence. Doing the steps out of order is how repairs fail.
- Find and stop the water. Before any wood is repaired, figure out how water got in. Common culprits are failed caulk joints, missing or damaged flashing, gutters that overflow onto fascia, sprinklers hitting the house, and horizontal surfaces with no slope for drainage. A repair made without fixing the source will rot again.
- Remove all decayed wood. Dig, cut or chisel out soft material until you reach firm, sound wood. Anything left behind will keep failing.
- Let the area dry. Wood must be dry before it is filled, consolidated or primed. In Pasadena, the long dry season helps, and summer and early fall are the easiest times for this kind of work.
- Repair or replace. Small areas can often be rebuilt with epoxy products designed for wood. Larger areas, structural members and pieces with rot running through them need to be replaced with new wood, spliced in or swapped out entirely.
- Seal end grain and back-prime new wood. New boards should be primed on all six sides before installation, with particular attention to cut ends, which absorb water fastest. Existing end grain exposed during repair should be sealed as well.
- Caulk and prime. Seal joints where the repaired piece meets adjacent material, then prime the whole repaired area with a primer suited to the product used.
- Paint. Only after the repair is sound, dry and primed does finish paint go on.
Where rot hides on Pasadena homes
Certain spots rot first on nearly every house, and they are worth checking every year. On Craftsman bungalows, the exposed ends of rafter tails and purlins take weather directly on their end grain. Porch posts rot at the base where they meet a concrete or wood floor, especially if water sits against them. Window sills, the bottom rails of wood sashes and the lower ends of door casings collect water. Fascia boards rot behind overflowing gutters. Garage door frames and the bottom edge of wood siding near soil or sprinkler spray are common too. On mid-century homes with flat or low-slope roofs, beam ends that extend past the walls are frequent trouble spots.
Lead paint and rot repair
On homes built before 1978, cutting out rotted wood and sanding surrounding paint can release lead dust. Rot repair tends to disturb exactly the areas most likely to have many old layers. Contractors doing this work on older homes must be certified under the EPA lead-safe renovation rule and follow its practices for containment and cleanup. If you do repairs yourself, wet-scrape rather than dry-sand, contain debris on plastic sheeting, keep children and pets away, and clean up with a HEPA vacuum.
Cost factors
The cost of rot repair depends on how much wood is involved, whether the affected pieces are decorative or structural, whether matching milled profiles are readily available or must be custom made, how hard the area is to reach, and whether lead-safe practices are required. Older homes with original trim profiles can require custom milling to match. The biggest cost factor of all is time. Rot caught early, while it is still a soft spot on a sill, is a small repair. Rot left for several seasons can reach the framing behind it.
Treating rot repair as part of painting rather than a separate project is the right mindset. The paint is only as good as the wood it sits on, and the weeks before a repaint are the one time when every surface is being looked at closely anyway.